Google Cloud Storage (Optional)
If you want to use Google Cloud Storage to save and serve image assets, please follow this section. Otherwise, you can skip. By default, image assets are being served in the project.
Creating Bucket
- Go to Google Cloud Console and login.
- Go to Cloud Storage > Bucket.

- Click Create.
- Fill up a Name.
- Click Continue.
- Keep clicking Continue.
- Leave everything as default.
- Create the bucket.
- Uncheck Enforce public access prevention on this bucket.
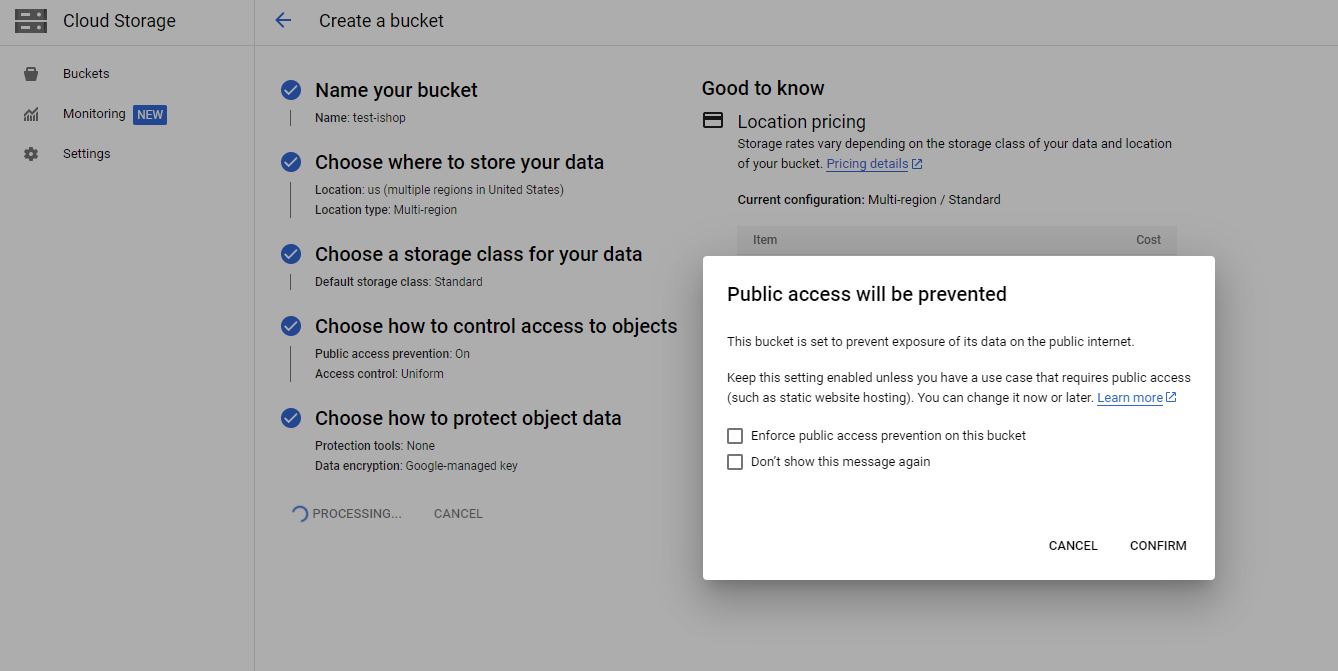
- Click Confirm.
- Your bucket has been created.
- Create a folder inside the bucket called uploads (we serve images from this folder).
Giving Permission
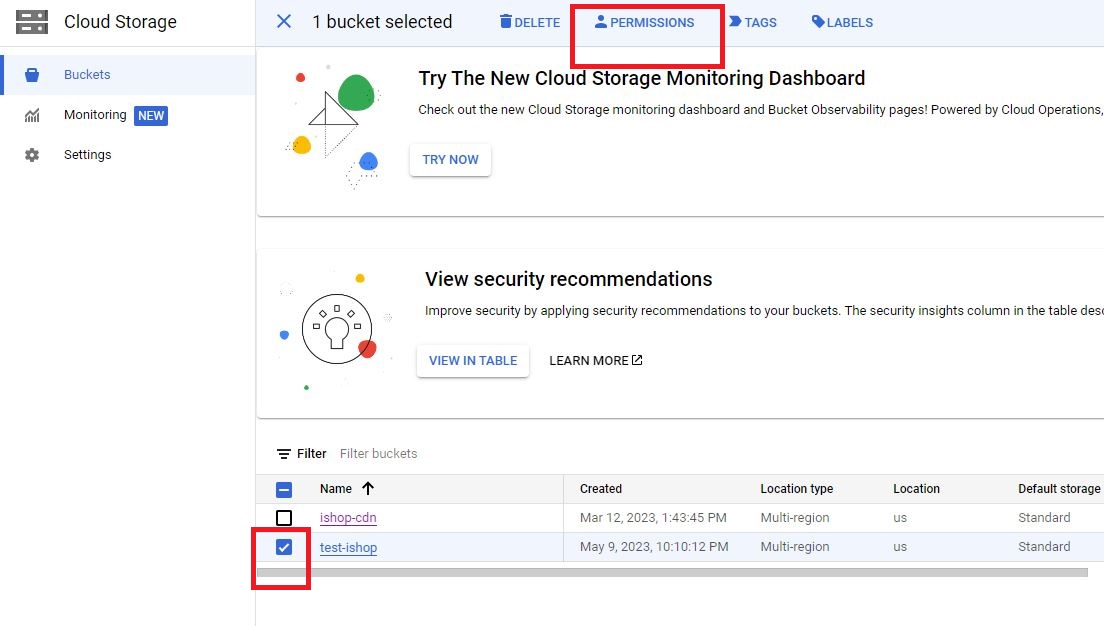
- Go back to the bucket and check the checkbox next to it.
- Click Permissions.
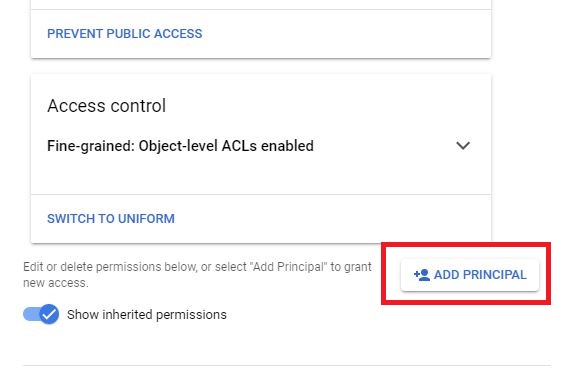
- Click SWITCH TO FINE-GRAINED in the Access control section.
- Click Fine-grained in the pop-up and click Save.
- Click ADD PRINCIPAL.
- In the new principal field, enter AllUsers.
- In the Select a role section, select Cloud Storage > Storage Object Viewer.
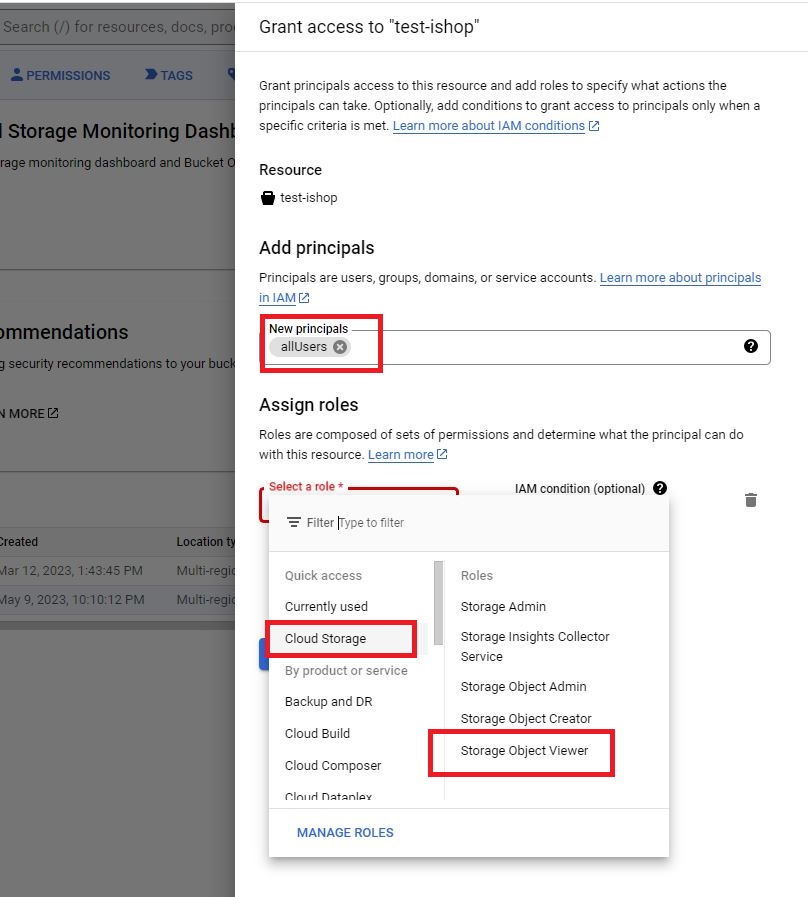
- Save and click ALLOW PUBLIC ACCESS.
- Your bucket is now publicly accessible.
Setting Up
- Login to Admin panel and go to Setting > Media Storage.
- Select Media Storage to GCS.
- Fill Thumb Prefix – this will be used as a prefix for generated thumbnail images.
- Fill Default Image – this image will be used if any image is missing.
- Enter your bucket URL in CDN URL, e.g.:
https://storage.googleapis.com/test-ishop/uploads/
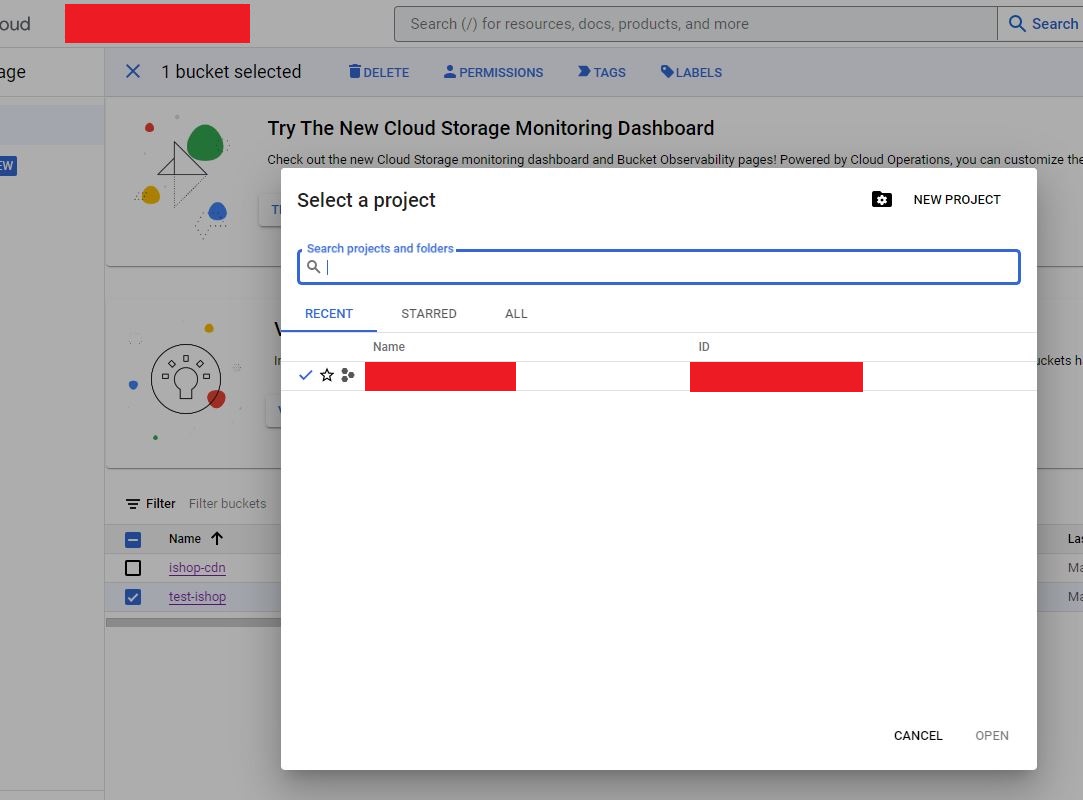
- To get the Google Cloud Project ID:
- Go to Cloud Storage > Bucket
- Click on the project dropdown in the header
- Copy the ID and paste it into the Admin panel.
- Fill Google Cloud Storage Bucket with your bucket name.
- Fill Google Cloud Storage Path Prefix with your folder inside the bucket (e.g.,
uploads). - Click Save.
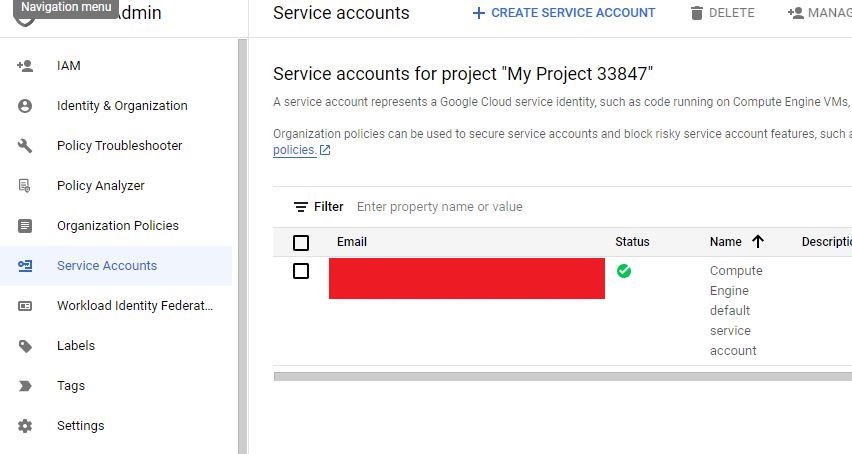
Service Account Setup
- Log in to Google Cloud Console.
- Navigate to IAM & Admin > Service Accounts.
- Click an existing service account or Create Service Account.
- Enter a name and optional description.
- Assign a role: Storage Object Creator or Storage Object Admin.
- Click Create.
- Click Actions > Create Key.
- Choose key type JSON and click Create.
- A JSON file will be downloaded.
- Place its contents in
service-account.jsonin your project root.
Use a Subdomain as CDN URL (Optional)
If you want to use a subdomain instead of the Google Cloud Storage URL, follow these steps:
- Log in to Google Cloud Console.
- Navigate to Network Services > Load Balancing.
- Click CREATE LOAD BALANCER.
- Click START CONFIGURATION from HTTP(S) Load Balancing.
- Click CONTINUE (keep everything default).
- Enter a name. Protocol: HTTP.
- In IP ADDRESS, click CREATE IP ADDRESS.
- Name it and click Reserve.
- Click ADD FRONTEND IP AND PORT.
- Name it, Protocol: HTTPS
- Choose the reserved IP address
- Create a Google-managed certificate with your domain
- Click Create and then Done
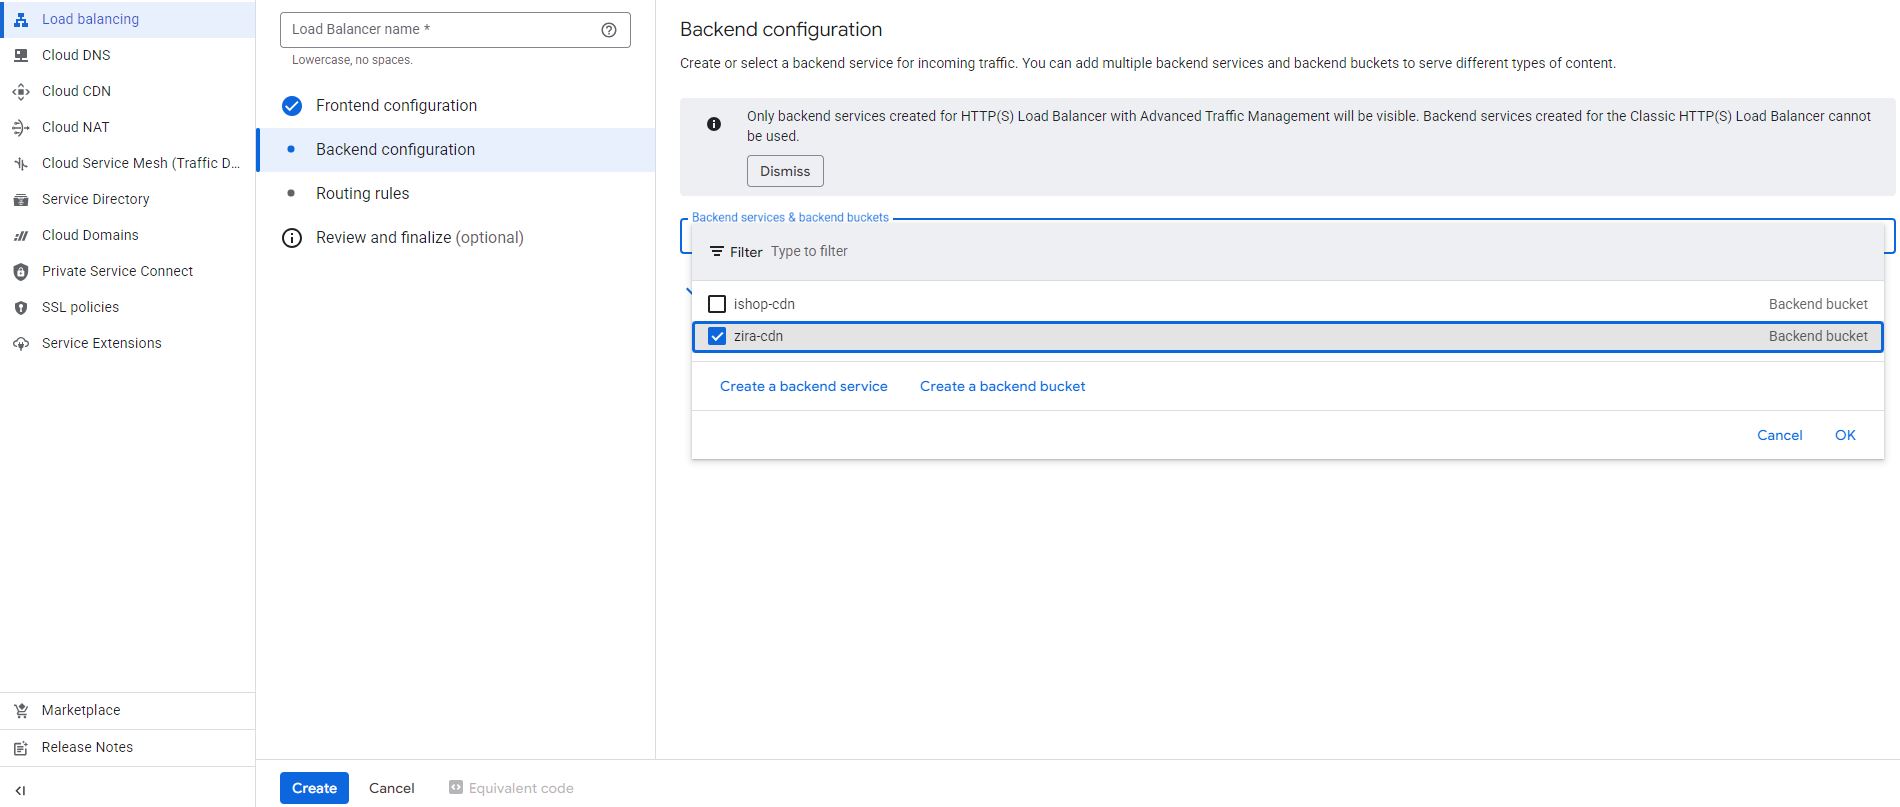
- Create a Backend Configuration:
- Click CREATE A BACKEND BUCKET
- Select your bucket
- Click OK and then Create
- Copy the Load Balancer IP address.
- Navigate to Cloud DNS.
- Create a zone if you don’t have one
- Click ADD STANDARD
- Enter your subdomain and paste the IP
- Click Create